
LED Screen Maintenance: How to Keep Your Screen in Perfect Condition
How to maintain LED screens correctly: cleaning LEDs without damage, correct storage procedures, identifying and replacing failed modules, preventive maintenance schedules, and how to extend screen lifespan.
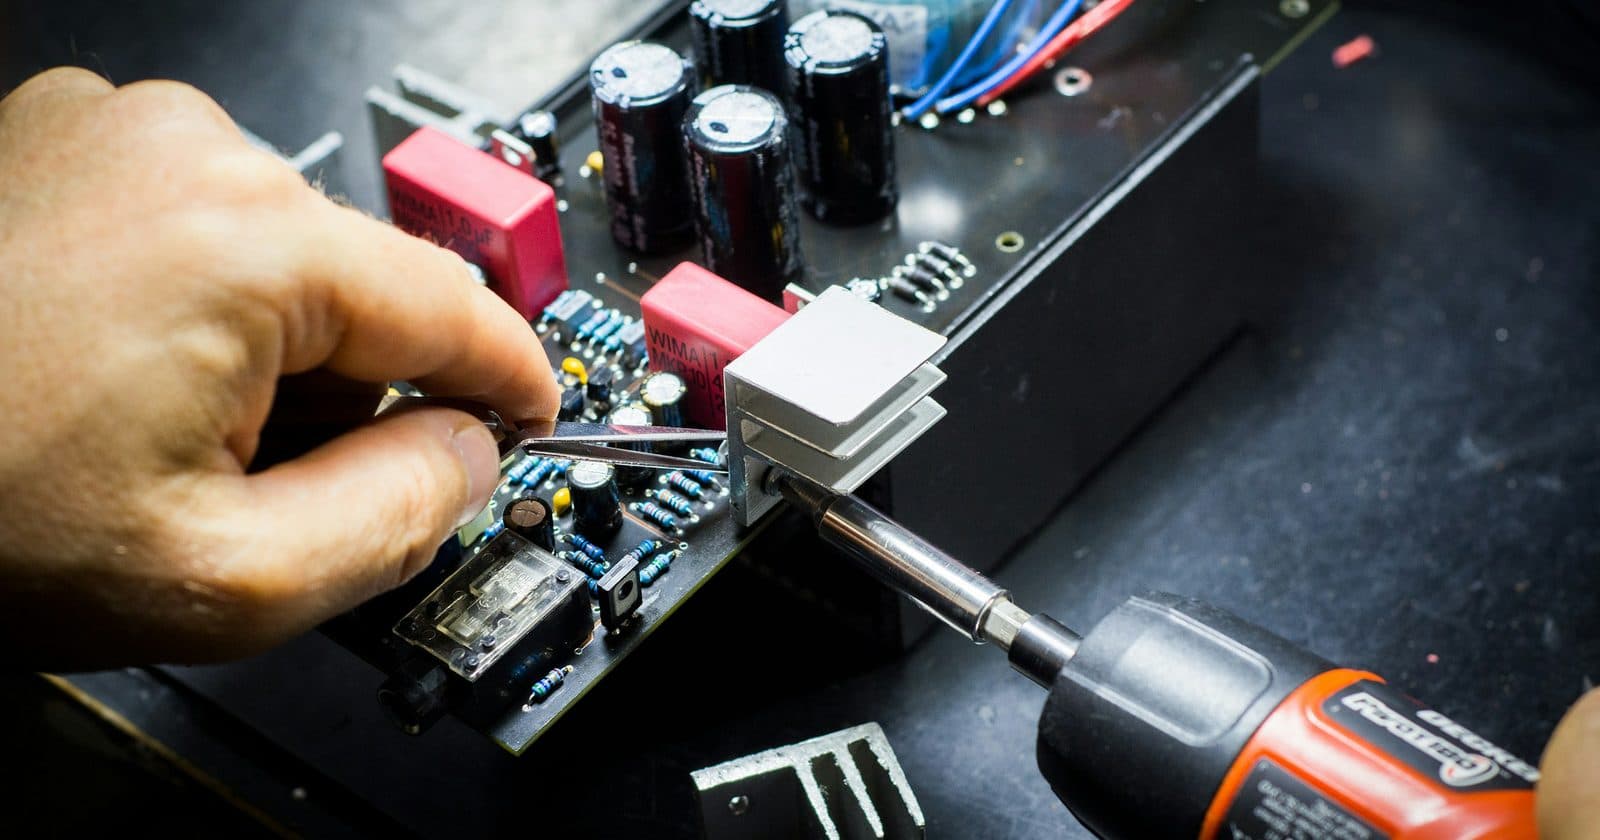
LED screens are significant investments, and like any professional AV equipment they need regular maintenance to perform reliably and last as long as possible. Unlike projectors or displays that are replaced as units, LED screens are modular, the right maintenance keeps them earning for a decade or more. This guide covers cleaning, storage, module replacement, and the maintenance schedule used by professional rental companies.
Cleaning LED Screens
LED screens accumulate dust, fingerprints, and in outdoor applications, environmental contamination. Keeping them clean is important for both image quality and longevity, dust on LEDs reduces brightness and can cause heat build-up.
Indoor LED Module Cleaning
- Power OFF the screen and disconnect from mains power before any cleaning
- Use a can of compressed air (air duster) to blow dust from between pixels: hold the can upright to prevent propellant spray
- For stubborn surface dust, use a clean, dry, lint-free microfibre cloth and extremely light pressure: drag, don't press
- Never touch individual LED chips: they are delicate and can be dislodged by finger pressure
- For cabinet frames (not LED surfaces), a slightly damp cloth with minimal moisture is acceptable
- Allow any residual moisture on frames to dry completely before powering on
Outdoor LED Module Cleaning
Outdoor LED modules have a protective resin coating over the LEDs, making them slightly more tolerant of cleaning, but the same basic principles apply. Compressed air first; only for stubborn contamination (insects, dried mud), a very soft brush (like a clean paintbrush) can be used gently before compressed air.
For outdoor screens in industrial environments or near motorways where exhaust deposits accumulate, Novastar-approved panel cleaning solutions exist specifically formulated for LED resin coatings. Use only manufacturer-approved products.
Connector Maintenance
Data (RJ45/Cat6) and power (Powercon) connectors are the highest-wear components on event rental LED screens. Proper connector maintenance prevents the majority of on-site failures.
- Inspect all RJ45 connectors before each event: bent pins, cracked boots, or loose locking tabs are early failure signs
- Replace any Cat6 cable with a damaged RJ45 connector immediately; don't "just use it one more time"
- Powercon connectors should click firmly into engagement; any looseness in the locking ring indicates wear
- A contact cleaner spray (Electrolube or equivalent, non-conductive) on Powercon connectors maintains conductivity on heavily-used connections
- Check the rubber strain relief on all cables periodically; cracked or missing strain relief leads to cable failure at the connector
LED Module Replacement
Individual LED modules (the PCBs that carry the LEDs, typically 1/4 or 1/8 of a cabinet's face) are field-replaceable units. When a section of a cabinet shows dead pixels, incorrect colours, or a full-module failure, module replacement is the first-line repair.
- Identify the exact module: in NovaLCT, enable the pixel test tool and click on the dead area; NovaLCT identifies which cabinet and module position
- Power down the cabinet (switch off its MCB)
- For rear-service cabinets: remove the rear cover, unplug the module's signal and power connectors, remove the 4 mounting screws
- For front-service cabinets: use the magnetic extraction tool to pull the module forward from the front
- Insert the replacement module, reconnect, replace cover or reseat front-service module
- Power on and verify: the replacement module should display correctly without any further configuration
Storage Best Practices
Incorrect storage causes more long-term LED screen damage than events use. Specific problems from poor storage include:
- Moisture damage: cabinets stored in cold warehouses then moved to warm venues develop condensation inside, causing corrosion on PCBs and connectors
- Pixel-level stress cracks: cabinets stored face-down with weight on top create pressure on LED chips
- Thermal cycling damage: repeated storage in cold and deployment to heat environments accelerates solder joint fatigue
- Rodent damage: mice and rats find LED cabinet interiors attractive for nesting; cables and PCBs are chewed
Correct storage:
- Store in flight cases with foam protection; the foam prevents cabinet-to-cabinet contact and absorbs transit vibration
- Maintain storage temperature above 5°C: extreme cold causes component stress and condensation risk on reintroduction to warmth
- Store in a dry environment: target relative humidity below 70%; use silica gel sachets in flight cases if storage is in a damp building
- Store cabinets vertically (on edge) or face-up in their cases, never stacked face-down under weight
- Run screens at least monthly during storage; power cycling during storage prevents "dark spot" issues on LEDs that sit without power for months
Preventive Maintenance Schedule
| Frequency | Task |
|---|---|
| After every event | Visual inspection of all modules; check all connectors for damage; coil and inspect all cables |
| Monthly | Power up screen and run for 1 hour; check NovaLCT monitoring for temperature anomalies; compressed air clean of any dusty modules |
| Every 3 months | Full connector inspection; check all locking mechanisms on cabinets; inspect flight case foam for deterioration |
| Every 6 months | Full brightness and colour uniformity check; recalibrate if seam differences visible; check and update firmware if new version available |
| Annually | Professional inspection; full CaliFile recalibration if screen is used for high-profile events; replace any cables showing wear |
| As needed | Module replacement; connector replacement; flight case repair |
Extending Screen Lifespan
LED screens have a rated lifespan, typically 100,000 hours to 50% lumen depreciation at rated brightness. But operating conditions heavily influence real lifespan:
- Run at 50–70% brightness for indoor events, not 100%. Halving the brightness extends LED lifespan significantly.
- Ensure adequate ventilation: heat is the primary cause of premature LED failure. Respect the minimum clearance requirements for the back of the screen.
- Avoid extended periods at very low brightness in cold environments; this can cause colour shift in some LED types.
- Don't run static images for extended periods at high brightness: LED screens can exhibit "image burn" (temporary) if a bright static element is displayed for hours. Vary content.
- Keep firmware updated: Novastar firmware updates often include improvements to PWM drive patterns that reduce LED stress.
Maintenance Checklists in the Complete Guide
Chapter 10 of the full guide covers LED screen maintenance in depth, including printable pre/post-event checklists, a module replacement walkthrough, and the maintenance schedule used by professional AV rental companies.
Get the Full Guide for £35 →