
LED Screen Daisy Chain Wiring Explained: Data Cables Step by Step
How to wire data cables through an LED screen using daisy chaining. Covers S-curve routing, Cat6 cable requirements, step-by-step connection, common mistakes, and how to fix missing cabinets.
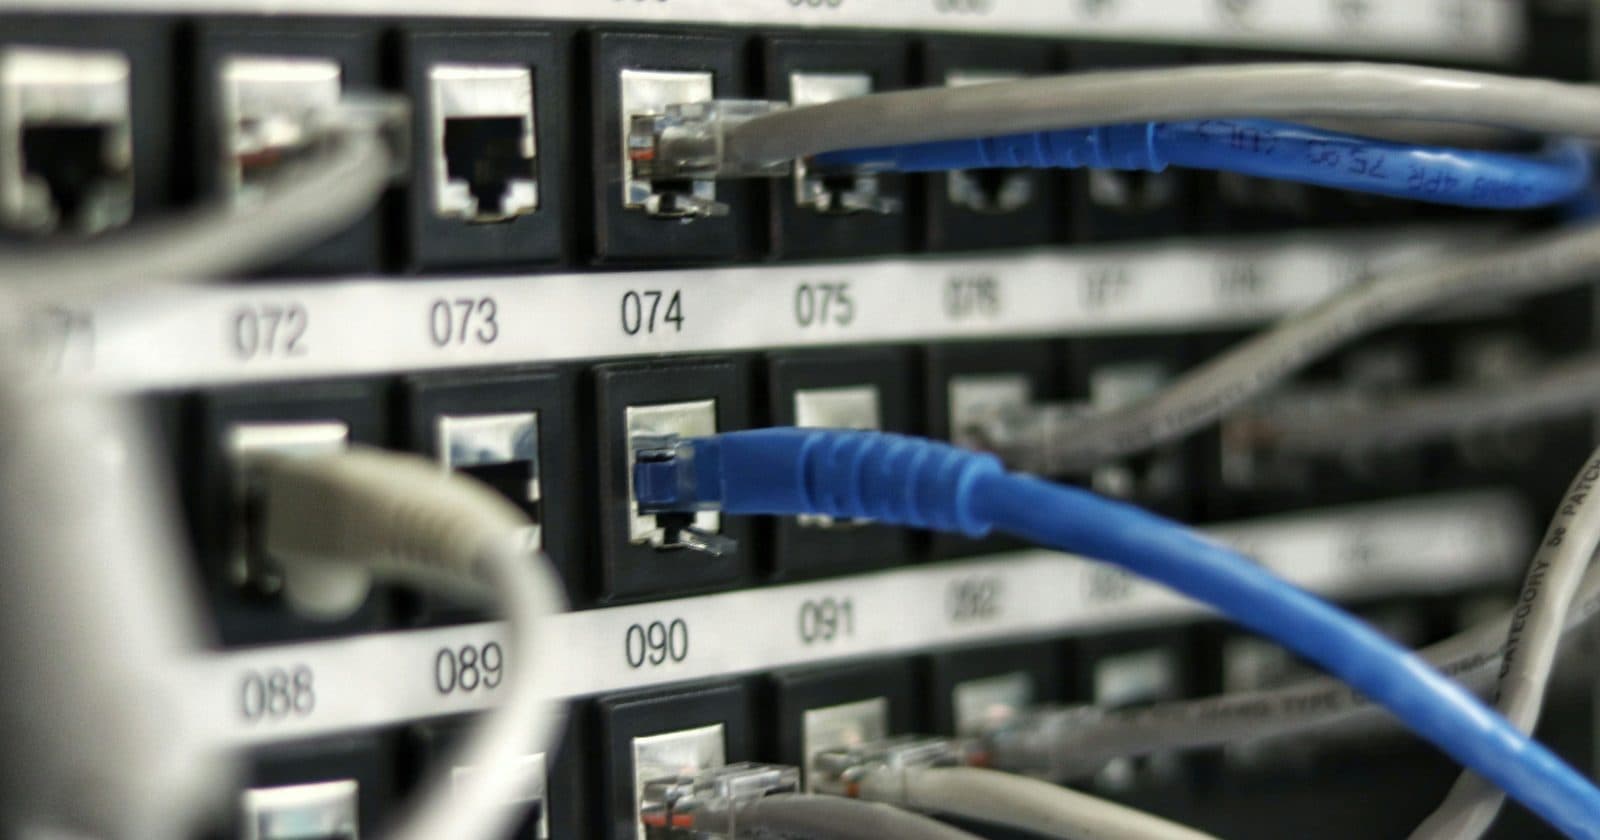
Daisy chain wiring is how data travels from your Novastar controller through every cabinet in your LED screen. Get it right and the screen displays a perfect image. Get it wrong and you'll see scrambled images, missing sections, or half a screen with no signal. This guide explains everything you need to know, the concept, the routing options, the step-by-step connection process, and how to fix the most common wiring mistakes.
What Is Daisy Chain Wiring?
A daisy chain is a wiring arrangement where signal (in this case, LED display data) flows from one device to the next in a series. In an LED screen, the data leaves your Novastar sending device and enters the first cabinet. That cabinet's output port then connects to the second cabinet's input. The second connects to the third. This continues until the last cabinet in the chain, which has no connection on its output port.
This is in contrast to a "star" topology (where every device connects back to a central hub), or a redundant loop (where a second cable connects the last cabinet back to the sending device as a backup). Daisy chaining is the standard for LED screens because it's simple, uses the minimum cable, and scales easily.
The Cable: Cat6 Ethernet
LED screen data wiring uses standard Cat6 (or Cat6A) Ethernet cable, the same type of cable used for computer networks. The connectors are standard RJ45, and the cable looks identical to a network patch cable. Do not use Cat5e for professional LED installations, it lacks the bandwidth for reliable long-distance data transmission.
| Cable Type | Max Reliable Distance | Recommendation |
|---|---|---|
| Cat5e | 30–50m for LED data | Avoid: inadequate for professional use |
| Cat6 | Up to 100m per segment | Standard choice: use for all connections |
| Cat6A (augmented) | Up to 100m, higher bandwidth | Best for long runs or future-proofing |
| Fibre optic (with converter) | 100m – 500m+ | For very long runs between sending device and screen |
Routing Methods: S-Curve vs Straight
Before you run a single cable, you need to decide how the data will route through your screen. The routing pattern determines the cabinet numbering in NovaLCT, and the two must match exactly.
S-Curve Routing (Recommended)
In S-curve routing, cables snake through the screen: left to right across row 1, then right to left across row 2, then left to right across row 3, and so on, forming an S-shape through the screen. This is also called snake routing or serpentine routing.
Advantages: minimises total cable length (no long runs back to the start of each row); professional technicians use it almost universally. Disadvantage: slightly harder to trace and map in software for first-timers.
Straight Routing
In straight routing, every row goes in the same direction (always left to right). At the end of each row, a "flyback" cable runs from the last cabinet of that row back to the first cabinet of the next row. This creates longer cable runs but is easier to follow and understand.
Use straight routing if you're new to LED wiring and want to make troubleshooting easier. The extra cable cost is small, and the clarity benefit for learning is significant.
Step-by-Step: Running Data Cables
- Sketch your routing plan on paper before touching a cable. Mark every cabinet with a number (1 = first to receive data), draw arrows showing the flow direction, and note where each row connects to the next.
- Label the IN port and OUT port on each cabinet with a small sticker or marker before starting: many cabinets label them but some are easy to confuse under show conditions.
- Connect Cat6 from Novastar Output 1 → Cabinet 1 DATA IN port.
- Connect Cat6 from Cabinet 1 DATA OUT → Cabinet 2 DATA IN.
- Continue along the row until the last cabinet in row 1.
- For S-curve: connect from Row 1 last cabinet OUT → Row 2 first cabinet IN (this is the wrap cable, label it clearly).
- For straight routing: connect a flyback cable from Row 1 last cabinet OUT, running back to Row 2 first cabinet IN.
- Continue until all cabinets in all rows are connected.
- The very last cabinet's DATA OUT port is left unconnected.
- If your screen requires more than one output (because pixel count exceeds one port's capacity), repeat from Step 3 using Novastar Output 2 and a new chain starting from the appropriate cabinet.
How to Set the Correct Port Capacity
Every Novastar sending device has a maximum pixel capacity per output port. You cannot exceed this by adding more cabinets to a single chain; once you reach the limit, you need a second output. Common capacities:
| Device | Max Pixels Per Output | Outputs Available |
|---|---|---|
| MCTRL300 | 1.3 million | 1 |
| MCTRL660 | 2.3 million | 2 |
| MCTRL R5 | 2.6 million (10M total) | 4 |
| VX400 | 2.3 million | 2 |
| VX600 | 3.9 million | 3 |
| VX1000 | 6.5 million | 6 |
Calculate your screen's total pixel count (width in pixels × height in pixels) and divide by the pixels per output to find how many outputs you need. If your screen is 1,536 × 1,024 pixels = 1,572,864 pixels, one MCTRL660 output handles it easily. A larger screen at 3,000 × 2,000 = 6,000,000 pixels needs three VX600 outputs or similar.
Common Wiring Mistakes and How to Fix Them
| Symptom | Cause | Fix |
|---|---|---|
| One or more cabinets completely dark | Cable disconnected or faulty at the first dark cabinet's IN port | Swap the Cat6 going INTO the first dark cabinet; it's almost always that cable |
| Entire row missing | Wrap cable between rows disconnected | Check the cable connecting the end of the previous row to the beginning of the missing row |
| Image appears scrambled or mirrored | Data routing direction in software doesn't match physical wiring | In NovaLCT, change the routing direction to match your physical cable layout |
| Random cabinet flickering | Loose RJ45 connector on that cabinet | Wiggle the cable while watching the screen; locate the bad connector and replace the patch cable |
| Half screen offset (image shifted) | Output 2 cabling connected to wrong starting cabinet | Check that Output 2's first cable connects to cabinet that immediately follows the last cabinet of Output 1 |
Checking Your Wiring in NovaLCT
After running all cables, open NovaLCT and go to Screen Configuration → Hardware Connection. The software will scan and report the number of receiving cards (cabinets) it detects on each output port. This number should exactly match your actual cabinet count.
If the count is wrong (say, you have 24 cabinets but NovaLCT finds only 20 on Output 1), the problem is always with the connection at the first undetected cabinet (cabinet 21 in this example). Find that cabinet, check both its IN port cable and the OUT port cable on cabinet 20.
Want the Complete Wiring Reference?
The full guide includes a dedicated wiring chapter with professional daisy chain diagrams, a wiring checklist for large screens, and the complete signal chain explained from sending device to individual LED pixel.
Get the Full Guide for £35 →