
LED Screen Power Wiring: The Complete Safety Guide
How to safely calculate, plan, and wire power for an LED screen. Covers power draw calculation, the 80% rule, cable sizing, MCB ratings, earthing, connectors, and the correct power-up procedure.
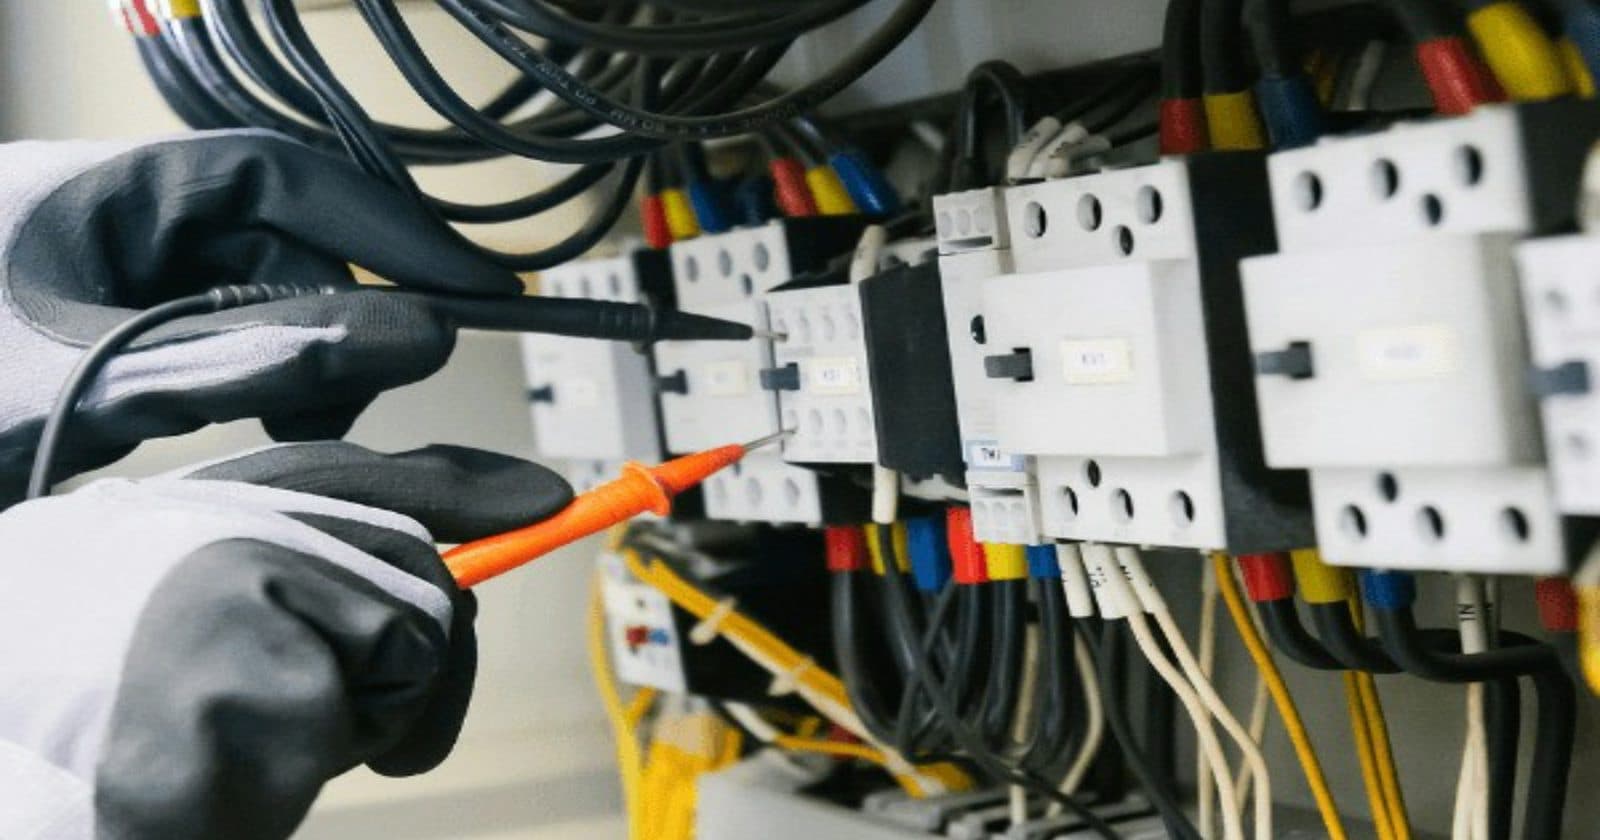
Power wiring is the most safety-critical part of any LED screen installation. Get it right and your screen runs reliably for years. Get it wrong and the consequences range from a tripped breaker mid-show (embarrassing) to a fire or electrocution (catastrophic). This guide covers everything you need to know to plan and execute a safe power installation for any LED screen.
Step 1: Calculate Your Power Requirement
Start with the cabinet datasheet. Every LED cabinet has a maximum power consumption figure in watts. This is the power the cabinet draws when every LED is running at full white (the worst case scenario). Use this figure for all planning: never use average power for safety calculations.
- Find the max power per cabinet on the datasheet (e.g., 200W)
- Multiply by total cabinet count (e.g., 20 cabinets × 200W = 4,000W total)
- Apply the 80% safety rule: divide by 0.8 (4,000 ÷ 0.8 = 5,000W minimum supply capacity)
- Convert to kW: 5,000W = 5kW
- Calculate circuits needed at your available supply voltage and current
Understanding Average vs Maximum Power
LED cabinets draw maximum power only when displaying full-white content with 100% brightness. In practice, typical content (videos, graphics, presentations) draws much less, usually 30–50% of maximum. However, you must always size your power supply for maximum power. Content changes, brightness gets turned up, and unexpected high-brightness frames happen. The few extra amps of headroom cost almost nothing and prevent failures.
| Power Calculation | Formula | Example (20 × 200W cabinets) |
|---|---|---|
| Total max power | Cabinets × max watts each | 20 × 200W = 4,000W |
| Required supply capacity (80% rule) | Total max ÷ 0.8 | 4,000 ÷ 0.8 = 5,000W minimum |
| In kW | Watts ÷ 1,000 | 5,000W = 5kW |
| Estimated average power | Total max × 0.35 | 4,000 × 0.35 = 1,400W typical |
| 16A circuits needed (at 230V) | Supply capacity ÷ (230V × 16A) | 5,000 ÷ 3,680 = 1.36 → 2 circuits |
| 32A circuits needed (at 230V) | Supply capacity ÷ (230V × 32A) | 5,000 ÷ 7,360 = 0.68 → 1 circuit |
The Power Distribution Chain
Power flows from the venue supply to your LED cabinets through several stages, each of which must be correctly sized:
- Venue supply: 3-phase or single-phase mains supply, usually accessed via a distro panel or cam-lock connectors
- Main distribution box (distro): receives the venue supply and splits it into individual circuit feeds via MCBs
- Cabinet feeds: from the distro box, individual cables run to groups of cabinets (daisy-chaining cabinet power)
- Cabinet to cabinet: inside the screen, power daisy-chains from cabinet to cabinet via Powercon connectors
Each stage in this chain must be sized for the load it carries, with the 80% rule applied at every MCB.
Cable Sizing: Getting It Right
Undersized cables overheat. An overheating cable is not just a performance issue; it's a fire risk. Always size cables for the circuit rating, not just the actual load you're drawing.
| Circuit Rating | Minimum Cable Cross-Section | Typical Use |
|---|---|---|
| 13A (UK domestic plug) | 1.5mm² | Not recommended for professional LED installs |
| 16A (CEE blue) | 2.5mm² | Small cabinet feeds, individual cabinet power |
| 32A (CEE red) | 4mm² | Standard event distribution circuits |
| 63A (three-phase CEE) | 10mm² | Main feed to large distribution boxes |
| 125A (large three-phase) | 35mm² | Main supply for very large screens |
Connectors: What to Use and Where
Using the wrong connector type is a common cause of overheating and connection failures. Always use rated, locking connectors for power in professional LED installations.
| Connector | Rating | Use |
|---|---|---|
| Powercon NAC3FCA (blue) | 20A / 250V | Standard mains inlet on most LED cabinets, not weatherproof |
| Powercon TRUE1 | 20A / 250V IP65 | Weatherproof outdoor version: use for ALL outdoor installations |
| 16A CEE (blue, 3-pin) | 16A | Circuit connections: common in venues and on generator sets |
| 32A CEE (red, 3-pin) | 32A | Main feeder to distribution boxes: most common for mid-size screens |
| 63A CEE (red, 5-pin) | 63A | Large installs, festival power, three-phase distribution |
MCB Ratings: Choosing the Right Breaker
An MCB (Miniature Circuit Breaker) is the fuse in your distribution board. It must trip quickly when a fault occurs, but not trip during normal operation. For LED screens, always use Type C MCBs, they tolerate the high inrush current that occurs when the screen first powers on, which can briefly exceed the running current.
| Supply Capacity Needed | Recommended MCB |
|---|---|
| Up to 3,680W | 16A Type C MCB |
| 3,680W – 7,360W | 32A Type C MCB |
| 7,360W – 14,490W | 63A Type C MCB (or multiple 32A) |
| Over 14,490W | Multiple circuits: consult an electrician |
Earthing: Non-Negotiable
Every metal component of your LED screen installation (cabinets, frames, distribution boxes, truss) must be bonded together and connected to a proper earth. Earthing provides the return path for fault current if a live wire ever contacts a metal surface.
Without proper earthing, a fault can make the entire metal structure of your screen live at mains voltage. Anyone who touches it, or the screen frame, is at serious risk of electrocution.
The Safe Power-Up Procedure
Follow this sequence every single time. Skipping steps creates risk.
- Verify all physical assembly is complete, every cabinet locked, every cable connected
- Set LED screen brightness to minimum (0%) in NovaLCT before applying power
- Turn on MCBs one at a time with a few seconds between each; never flip all at once
- Watch and smell: any smoke, burning odour, or unusual sound means power off immediately
- Check all sections display correctly: look for dark cabinets, colour anomalies, flickering
- Once satisfied, gradually raise brightness to the required level
Get the Complete Power Wiring Reference
The full guide includes Chapter 7: a complete deep-dive on power wiring with the 5-step calculation worksheet, power distribution diagram, connector reference, and the pre-installation safety checklist.
Get the Full Guide for £35 →