
LED Screens Explained: A Complete Beginner's Guide
New to LED screens? This plain-English guide covers what an LED screen is, how it works, pixel pitch, indoor vs outdoor, brightness ratings, and how the signal chain connects everything.
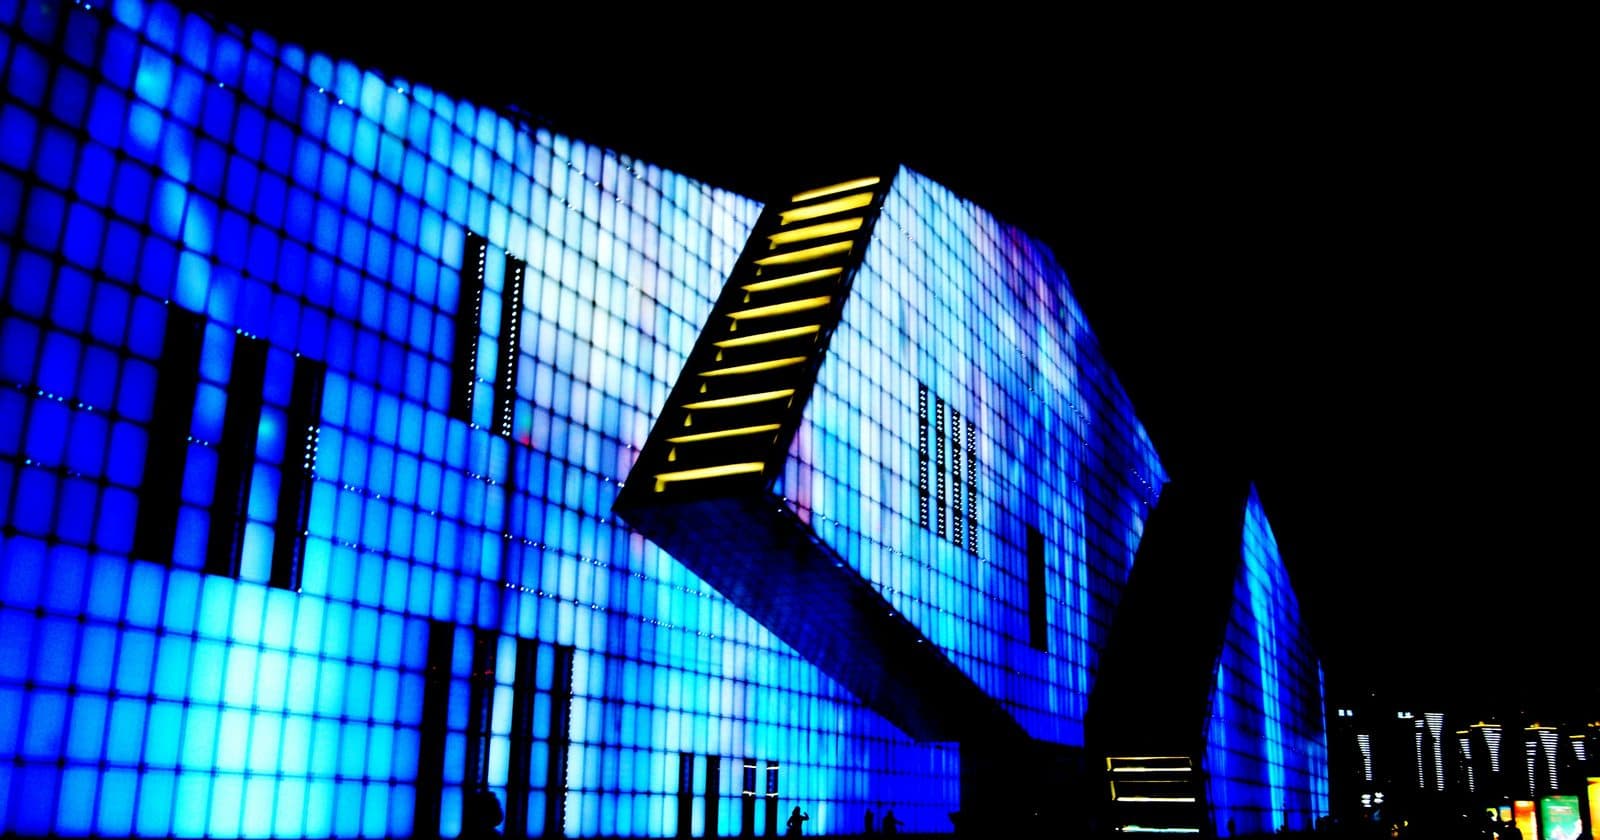
If you're new to LED screens, whether you're setting one up for the first time, buying equipment, or just trying to understand what you're working with, this guide is your starting point. By the time you've finished reading, you'll understand exactly how LED screens work, what all the key specifications mean, and how the complete signal chain connects your computer to thousands of individual lights.
What Is an LED Screen?
An LED screen is a flat panel display made up of thousands, sometimes millions, of tiny lights called LEDs (Light Emitting Diodes). Each LED can be controlled individually, set to produce any colour, and together they form an image, much like the pixels on your phone or laptop. The critical difference is that LED screens generate their own light directly: there's no backlight, no lamp, and no projector needed.
This direct light emission makes LED screens dramatically brighter than traditional displays. An indoor LED screen might produce 1,500 nits of brightness; an outdoor LED screen can reach 10,000 nits or more, compared to around 250–500 nits for a standard computer monitor. This is why LED screens are clearly visible in direct sunlight where a regular display would be completely washed out.
- Extremely bright: suitable for outdoor use in direct sunlight
- Long-lasting: 50,000+ hours before LEDs begin to dim noticeably
- Modular: build any screen size by connecting more panels
- Repairable: individual panels and modules can be replaced without replacing the whole screen
- Wide viewing angle: visible clearly even from steep off-axis positions
How LED Screens Are Built: Cabinets, Modules, and Pixels
LED screens are not one solid piece. They are assembled from rectangular blocks called cabinets (also known as panels or tiles). Each cabinet is a self-contained unit that includes the LED modules, power supply, and a receiving card (the circuit board that drives the LEDs). Cabinets connect together, physically and electrically, to form a screen of any size you need.
Inside each cabinet are smaller units called modules, and each module contains a grid of individual LEDs arranged in rows and columns. Each pixel on the screen is made from three LEDs: one red, one green, and one blue (RGB). By mixing the brightness of these three colours, any colour visible to the human eye can be reproduced.
What Is Pixel Pitch, and Why Does It Matter?
Pixel pitch is the single most important specification on any LED screen. It measures the distance in millimetres between the centre of one pixel and the centre of the next. A screen labelled P4 has a 4mm pixel pitch; a P2.5 screen has 2.5mm between pixels.
The rule to remember: a smaller pixel pitch means higher resolution (more pixels packed into the same area), which means you can stand closer without seeing individual pixels. A larger pixel pitch means lower resolution but also lower cost: for large outdoor screens viewed from a distance, a P10 screen looks perfectly sharp.
| Pixel Pitch | Min. Viewing Distance | Typical Use |
|---|---|---|
| P1.5 – P2 | 1–3 metres | Broadcast studios, control rooms, fine-pitch indoor |
| P2.5 – P3 | 2–5 metres | Indoor events, conference rooms, retail displays |
| P4 – P5 | 4–8 metres | Indoor stages, large venue screens |
| P6 – P8 | 6–15 metres | Outdoor events, sports venues, roadside |
| P10 – P16 | 10–30+ metres | Large outdoor billboards, stadiums, arenas |
A useful rule of thumb: multiply the pixel pitch by 1,000 and you get the minimum comfortable viewing distance in millimetres. So a P4 screen has a minimum viewing distance of 4,000mm (4 metres). Get closer than this and you'll start to see individual pixels rather than a smooth image.
Indoor vs Outdoor LED Screens
Indoor and outdoor LED screens might look similar from a distance, but they are built very differently. Using an indoor screen outdoors, even briefly, can cause immediate, irreversible damage.
| Feature | Indoor | Outdoor |
|---|---|---|
| Brightness | 800–2,000 nits | 5,000–10,000+ nits |
| Weather Protection | None: indoor only | IP65 rated: dust and water resistant |
| Typical Pixel Pitch | P1.5–P5 | P4–P16 |
| Cabinet Build | Lighter, compact | Heavy-duty, sealed enclosures |
| Cooling | Passive ventilation | Built-in active fans |
Understanding Brightness: Nits
Screen brightness is measured in nits (candelas per square metre, cd/m²). For context: a typical office monitor runs at 250–350 nits; a smartphone at 600–1,000 nits; a bright outdoor LED billboard at 6,000–10,000 nits. The brighter the ambient environment where your screen will be used, the higher the brightness you need.
| Environment | Recommended Brightness |
|---|---|
| Indoor: controlled lighting (stage, conference) | 800–1,500 nits |
| Indoor: ambient daylight (retail, lobby) | 1,500–3,000 nits |
| Outdoor: shaded or evening | 3,000–5,000 nits |
| Outdoor: direct sunlight | 6,000–10,000+ nits |
Refresh Rate: Why It Matters for Cameras
The refresh rate tells you how many times per second the screen redraws its image. For screens that will only ever be viewed directly by a human audience, a refresh rate of 1,920 Hz is generally sufficient. However, if a camera will ever point at the screen (for photos, video, live broadcast, or social media), you need a higher refresh rate.
At low refresh rates, cameras capture the screen between refresh cycles, producing visible horizontal dark bands (rolling scan lines) in the video. At 3,840 Hz or higher, this artefact disappears. For broadcast-quality production, 7,680 Hz or above is standard.
Grayscale and Colour Depth
Grayscale depth determines how many distinct brightness levels the screen can display on each colour channel. At 8-bit grayscale (256 levels per channel), smooth gradients can show visible "banding", a staircase effect on slow colour transitions. At 16-bit grayscale (65,536 levels per channel), transitions are completely smooth even on demanding content like skin tones and dawn sky gradients.
The grayscale processing happens in the receiving card, the circuit board inside each cabinet. Most modern Novastar receiving cards support 16-bit output. When comparing screens, check that both the LED module and the receiving card support the bit depth you need.
The Signal Chain: From PC to Pixels
Understanding the signal path is essential for both setup and troubleshooting. When you play a video on your computer and it appears on the LED screen, here's what happens at every step:
- Your PC's graphics card renders the video and outputs it via HDMI or DisplayPort
- A Novastar sending device (sending card or sending box) receives this video signal
- The sending device converts the video into a high-speed data stream and sends it via standard Cat6 Ethernet cable
- That Ethernet cable connects to the first LED cabinet in the chain
- Inside the cabinet, a receiving card interprets the data and drives the LEDs in that cabinet
- Another Ethernet cable carries the remaining data from the first cabinet's output to the next cabinet's input; this is called daisy chaining
- This continues until the last cabinet in the chain, which leaves its output port empty
What Controls the Screen? Novastar Explained Briefly
The most widely used control system for LED screens worldwide is made by Novastar. Novastar manufactures the sending devices (both PCIe cards that fit inside a desktop PC, and external boxes that work with any computer), and provides free software called NovaLCT to configure and manage the screen.
NovaLCT handles the screen configuration wizard (telling the system how many cabinets you have and where they are), brightness control, colour calibration, and temperature monitoring. It runs on Windows and connects to the sending device via USB or Ethernet.
Ready to Go Deeper?
This article covers the foundations. The complete 130-page guide covers every topic in depth, with dedicated chapters on Novastar hardware, NovaLCT setup, power wiring, mounting, ventilation, and a full troubleshooting decision tree.
Get the Complete Guide for £35 →