
LED Screen Brightness Settings: How to Get It Right Every Time
How to set the correct brightness for any LED screen in any environment. Covers nit levels, NovaLCT brightness controls, auto-brightness, why running at 100% damages screens, and the right settings for every application.
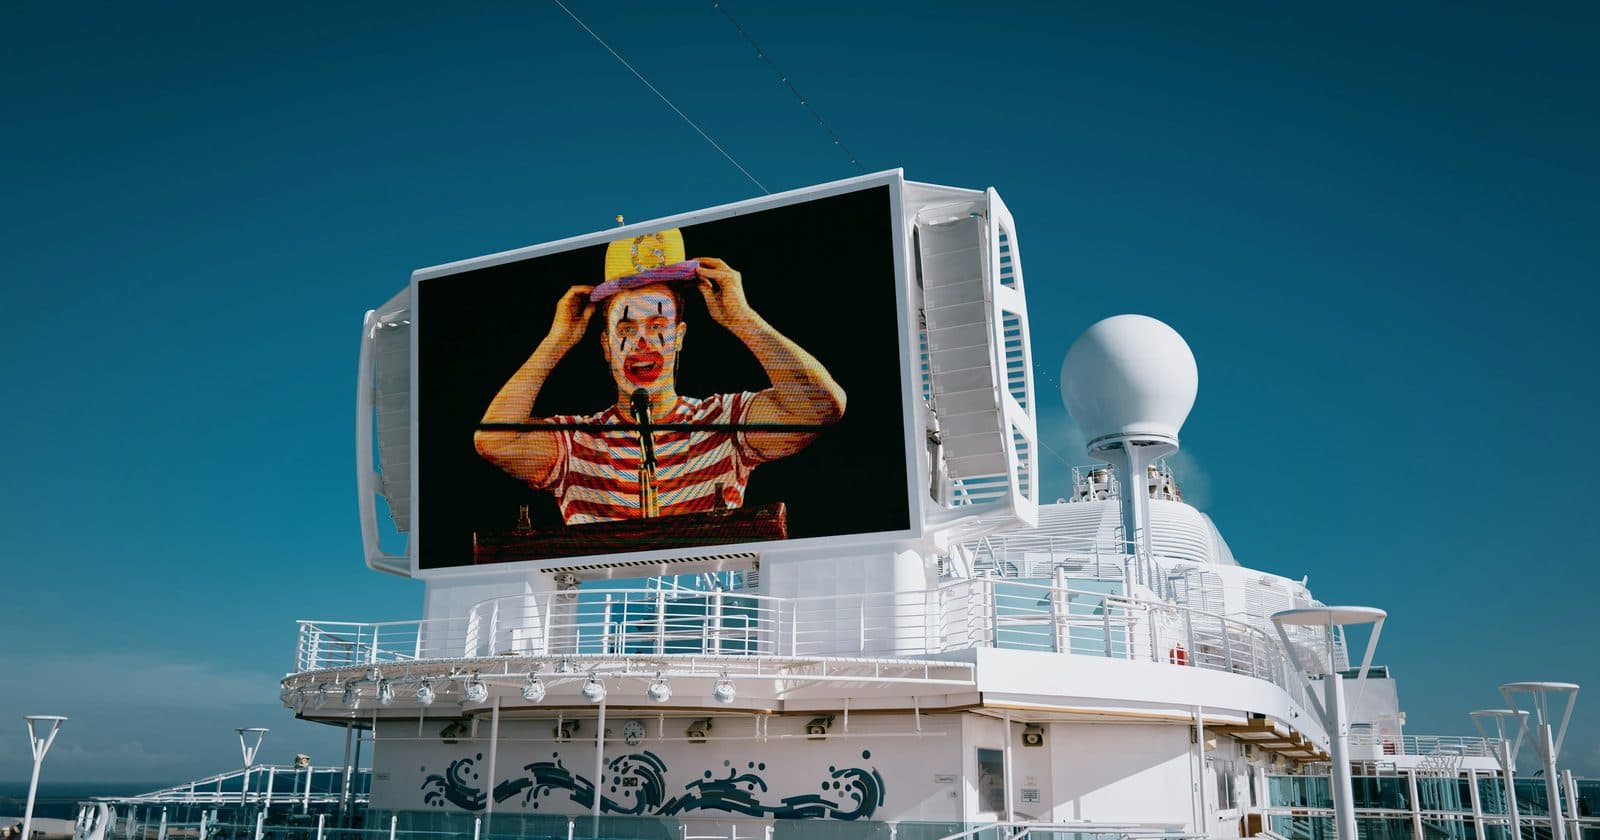
Brightness is the most immediately noticeable quality setting on any LED screen. Get it wrong and the audience either can't see the content clearly, or they're squinting and uncomfortable. More importantly, running an LED screen at unnecessarily high brightness dramatically reduces its lifespan. This guide explains how to measure, set, and manage brightness correctly across every application.
What Is Nit Brightness?
Brightness in LED screens is measured in nits: one nit equals one candela per square metre (cd/m²). It's a measure of how much light the screen emits per unit of surface area. A higher nit count means a brighter screen.
| Environment | Recommended Brightness | Why |
|---|---|---|
| Dark studio or theatre | 300–600 nits | Controlled lighting: high brightness causes discomfort and washes out cameras |
| Indoor conference room (normal lighting) | 800–1,200 nits | Typical office/venue lighting balanced against screen visibility |
| Indoor arena (stage lighting on) | 1,200–2,000 nits | Stage wash and house lights compete with the screen |
| Semi-outdoor (covered, indirect sun) | 2,500–4,000 nits | Indirect daylight requires significantly higher output |
| Outdoor (overcast day) | 4,000–6,000 nits | Diffuse outdoor light still very bright relative to indoors |
| Outdoor (direct sunlight) | 6,000–10,000 nits | Direct sun requires maximum output to remain visible |
Why Maximum Brightness Reduces Screen Life
LED brightness is produced by passing electrical current through the LED chip. More current = more light. But LED chips have a rated operating current range, and running consistently at the high end of that range accelerates two degradation processes:
- Lumen depreciation: LEDs lose brightness gradually over their lifetime. The higher the average current, the faster this happens. An LED rated at 100,000 hours at 60% brightness may only last 50,000 hours at 100% brightness.
- Thermal stress: More current means more heat. Excess heat accelerates the degradation of the LED chip, the phosphor layer (in white LEDs), and the solder joints holding the LED to the PCB. This is why LED screens need adequate ventilation even in cool environments.
The practical implication: set your screen to the lowest brightness level that provides clearly visible content for your audience. This typically means 40–70% for indoor events and 80–100% only for outdoor applications in bright conditions.
Setting Brightness in NovaLCT
Novastar offers multiple levels of brightness control in NovaLCT, each affecting the screen differently:
1. Global Brightness Slider
The main brightness control in NovaLCT (Screen Control → Brightness) adjusts brightness across the entire screen uniformly. This is a PWM-based control: it reduces the duty cycle of the LED drive signal, which dims the LEDs without changing the voltage or current when they are on. This is the primary control you'll use day-to-day.
2. Per-Cabinet Brightness Offset
If individual cabinets appear brighter or darker than their neighbours (a common issue when cabinets are from different production batches), NovaLCT allows per-cabinet brightness offset adjustment. This is accessible in the hardware configuration view for each receiving card.
3. Colour Brightness (Red/Green/Blue channels)
Advanced calibration allows independent brightness adjustment of the red, green, and blue channels. This is used for colour temperature matching: if your screen has a blue or yellow colour cast, adjusting channel levels can correct it without affecting overall brightness.
4. Auto-Brightness (Light Sensor)
Some Novastar configurations support a hardware light sensor that adjusts screen brightness automatically based on ambient light levels. This is primarily used for permanent outdoor installations (digital signage, scoreboards) where the screen must be readable in all conditions without manual adjustment. For events, manual control is almost always preferred.
Brightness and Camera/Broadcast Compatibility
When an LED screen will be captured by cameras, either broadcast or for video content creation, brightness becomes more critical and more complex. Cameras have a much narrower dynamic range than the human eye, and an LED screen that looks perfect in the room can appear blown out, flickering, or incorrectly colour-balanced on camera.
- Reduce brightness when shooting: cameras typically need the screen at 30–50% of the level comfortable for human viewing to avoid overexposure
- Set refresh rate to match camera: a refresh rate below the camera's shutter speed will cause banding in footage; set NovaLCT refresh rate to 3,840 Hz or higher
- Avoid mixing colour temperatures: if the screen has a 6500K white point and the room lighting is 3200K tungsten, one of them will look wrong on camera
Brightness Uniformity: Matching Multiple Cabinets
Uniformity is the difference between a professional-looking screen and one that looks like a patchwork of mismatched panels. Even from the same manufacturer, cabinets from different production batches will have slightly different brightness and colour characteristics.
NovaLCT handles this through calibration, a process where a camera or colorimeter measures each cabinet's actual output and the software calculates correction coefficients to make every cabinet match a target. This calibration data is stored on the receiving cards and applied automatically.
For new screens, basic seam calibration (adjusting the visible differences between adjacent cabinets) should be performed during commissioning. For critical broadcast or high-profile applications, full per-pixel calibration with a professional measurement device gives the best results.
Practical Brightness Settings by Application
| Application | Starting Brightness | Notes |
|---|---|---|
| Conference room, daytime | 40–50% | Raise if windows cause competing daylight |
| Concert venue, dark | 25–35% | Stage wash and IMAG: skin tones look better at lower brightness |
| Festival main stage | 70–90% | Raise as daylight increases through the day |
| Outdoor screen, night | 40–60% | Night sky is dark: high brightness is uncomfortable and wastes power |
| Outdoor screen, day (overcast) | 80–90% | Need the output to compete with diffuse sky brightness |
| Outdoor screen, day (sun) | 100% | Direct sun requires maximum output |
| Broadcast studio | 20–30% | Camera exposure drives the setting: very low compared to live events |
| Retail / digital signage | 50–70% | Auto-brightness preferred for day/night variation |
Complete Brightness and Calibration Reference
Chapter 9 of the full guide covers the complete NovaLCT brightness and calibration workflow, including step-by-step instructions for seam calibration, colour temperature matching, and saving calibrated configurations.
Get the Full Guide for £35 →